An Improv Quilt

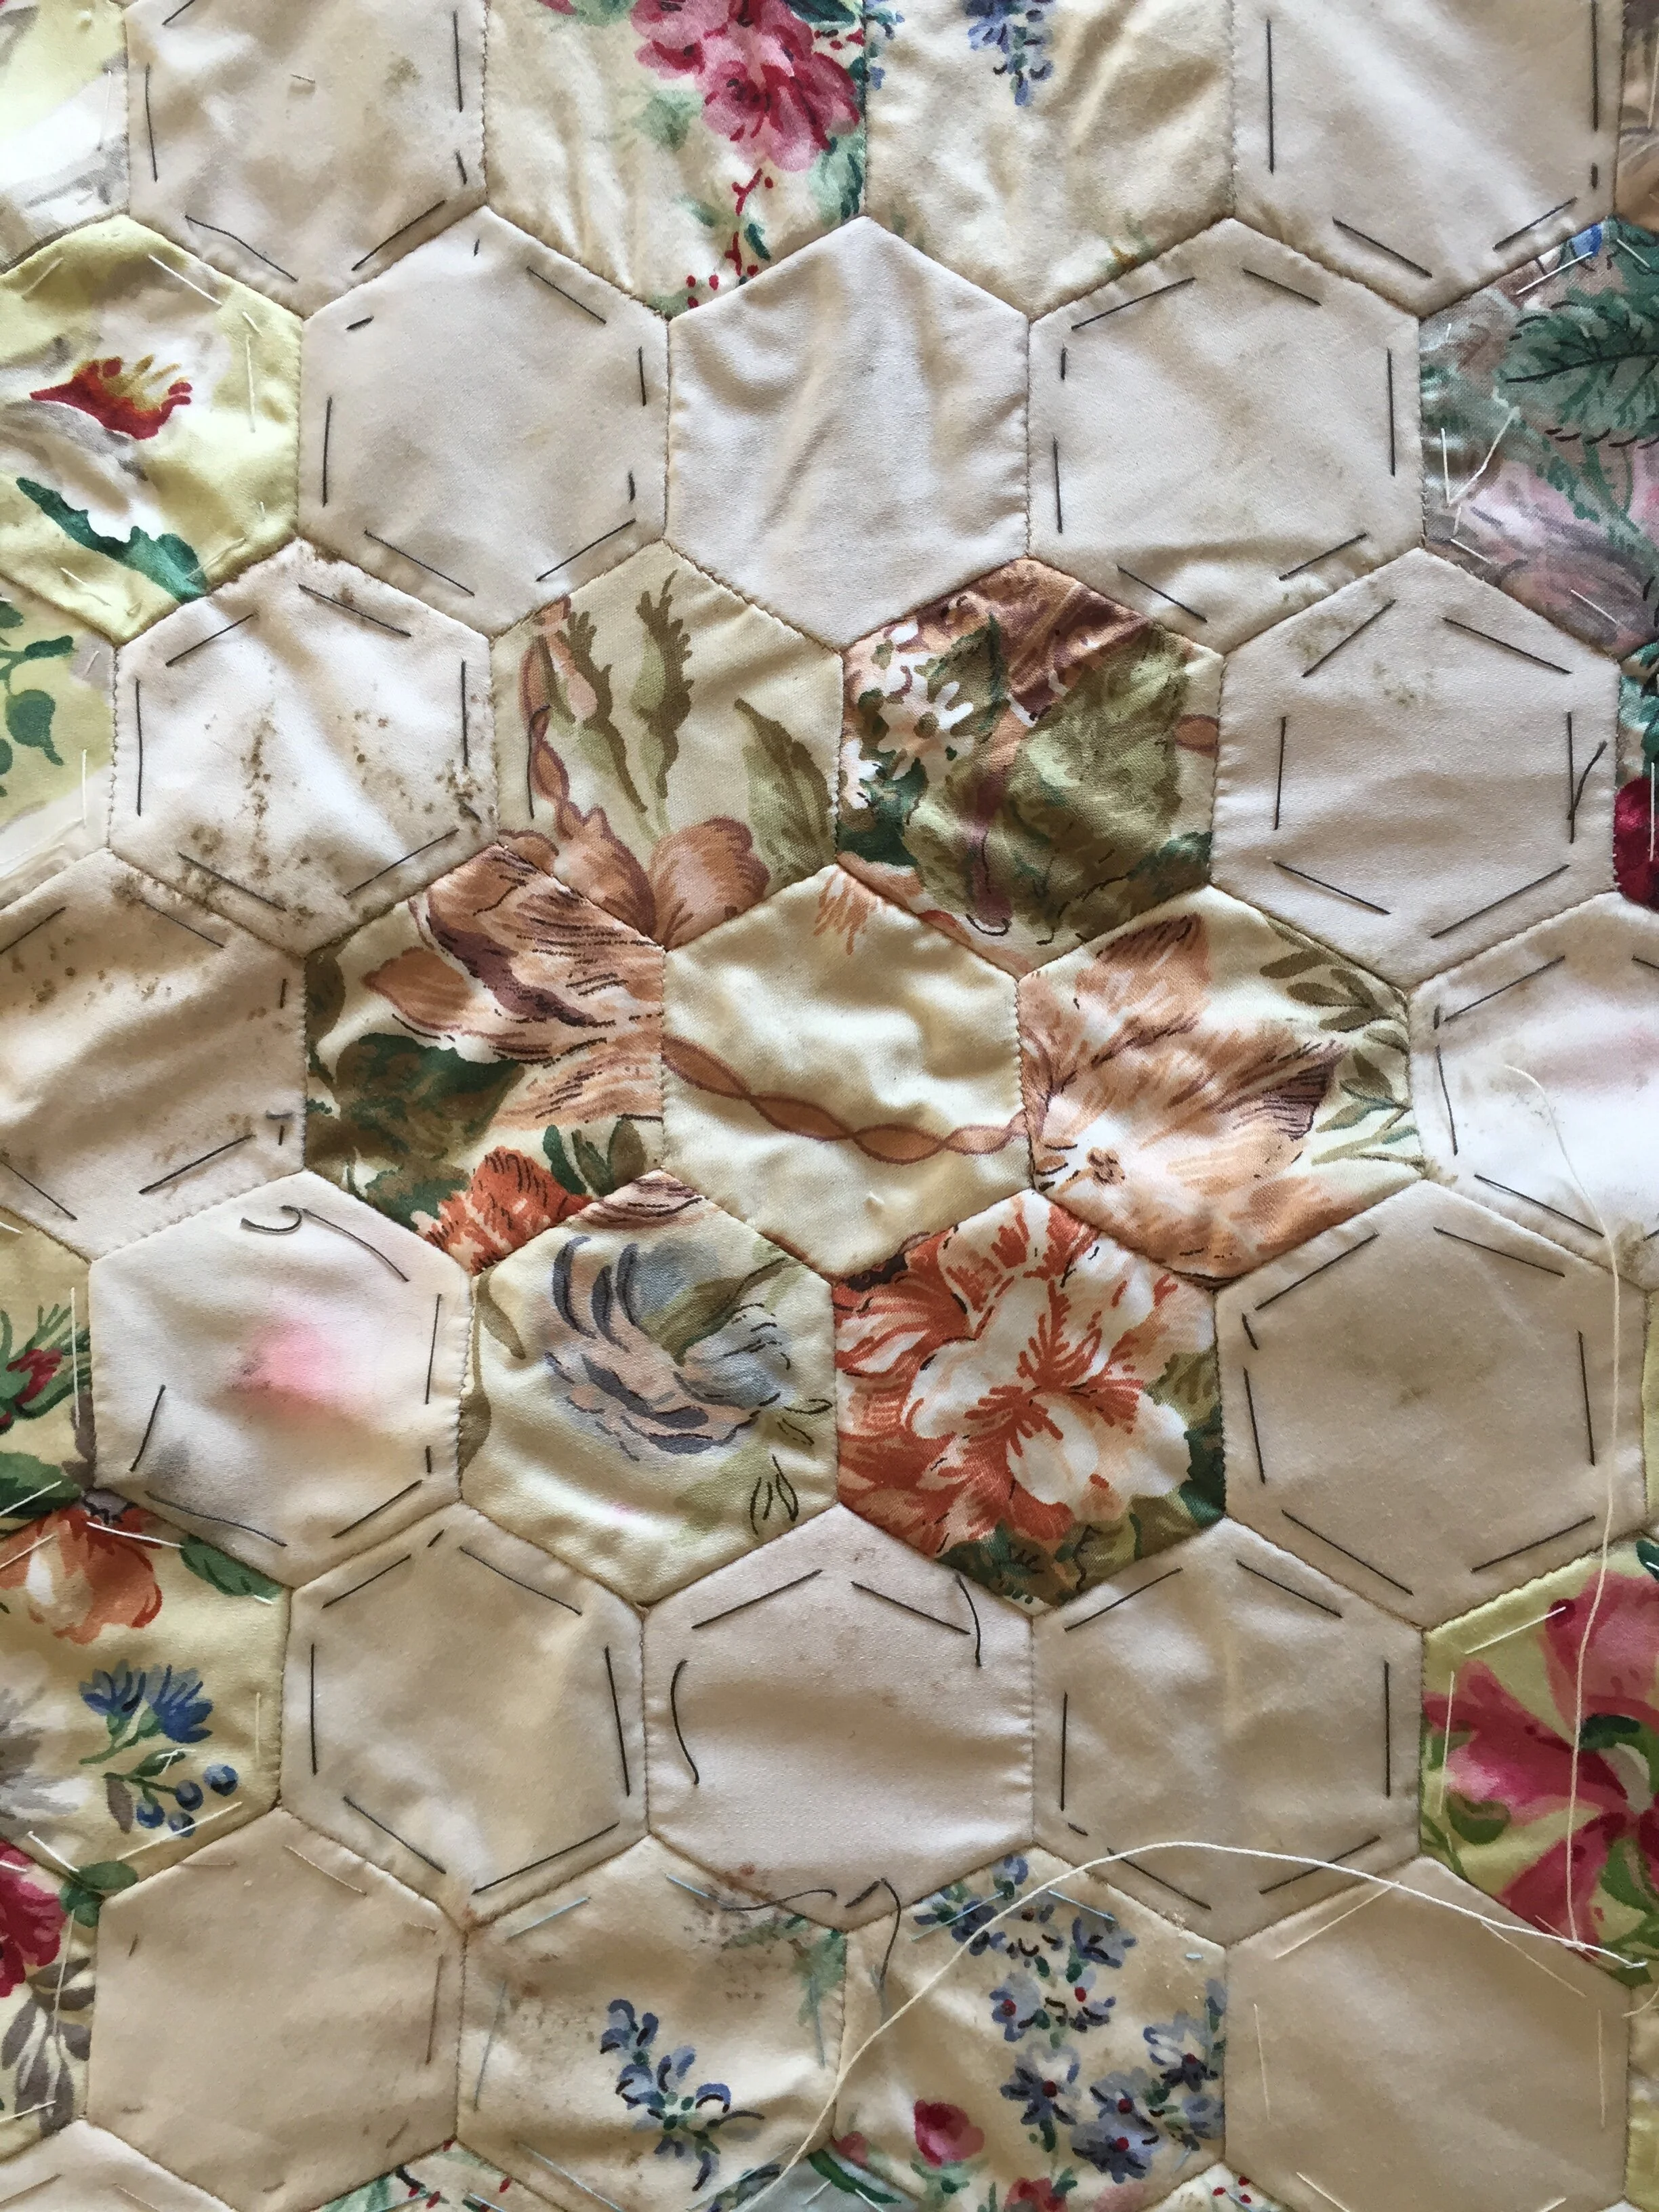
“Improv quilts” are quilts made without any specific intention. If we think of quilts, most of the time we will probably think of patchwork blankets with geometric patterns, potentially made from hand-sewn hexagons (a classic “English paper piecing“ design), or machine stitched in simple or complex patterns.
All of that requires a lot of planning, commitment, and skill in being precise so that corners match exactly and lines are straight. If not, your design will not look great.
Improv quilting requires neither skill, so given that I am not great at either sewing straight or precisely, but love sewing anyway, it is perfect for me. I wish I’d discovered it earlier than in the last year, but I started my own project very recently. The main section of my quilt top is now complete, but there’s much more to go.


The Start and The Process
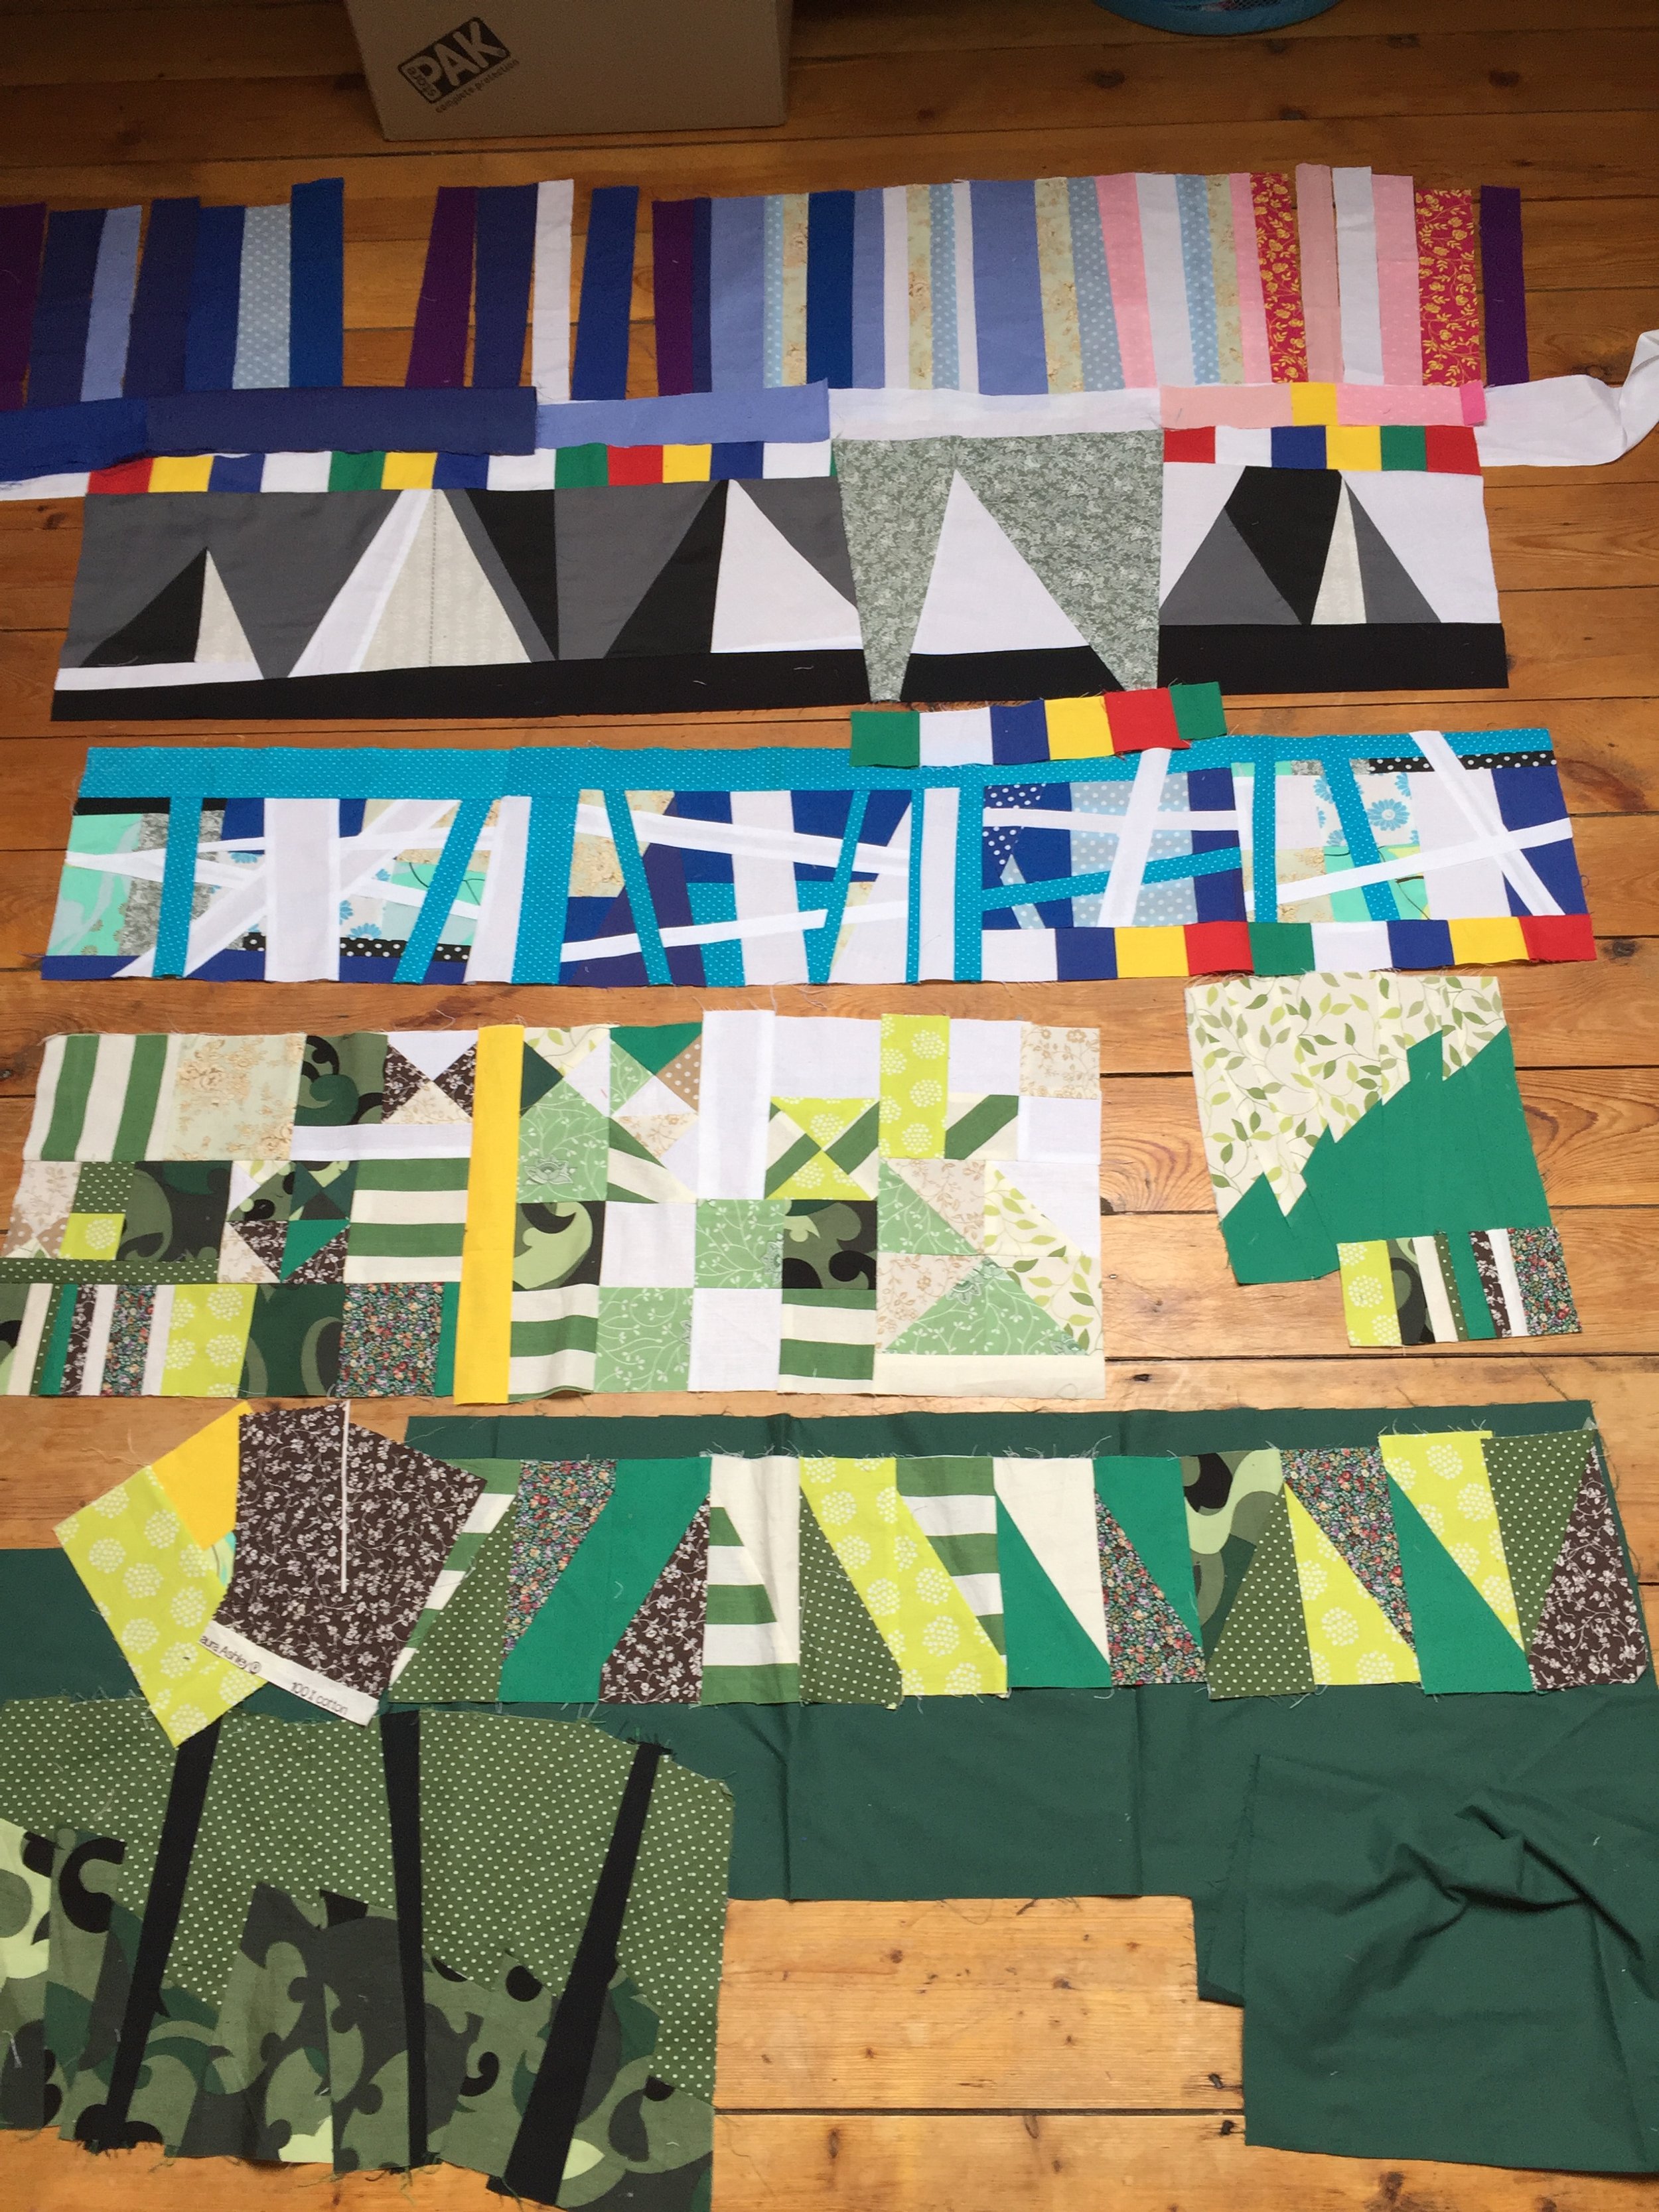
All I had in mind when I started was that I wanted to make something that evoked a natural, hilly scene. I sewed some fabric together diagonally, then sliced both pieces into strips. This is one of the fun parts of improv quilting: you make, and then you destroy what you’ve made to create something else. Below, you can see how those pieces came together, how I made triangular sections from other strips of fabric, and started making a section with more classic patchwork triangles.


At lot of improv quilting involves laying things out, and changing the layouts, and continuing to experiment. (Most artists arrange by pinning or sticking pieces onto the wall rather than the floor: Irene Roderick calls the whole process of improv quilting “dancing with the wall”.)
Through this process, some parts get removed entirely. You can see below that I got rid of the white and black triangles completely, opting for much more graphic triangles. The evolution of the blue ‘glacier’ layer beneath the layer of triangles is also apparent here.


I didn’t like any of that layer at first, and adding white slices through helped a little, but I was still worried I’d have to start from scratch. It wasn’t until I added turquoise slices that I started liking it, so I kept adding more!
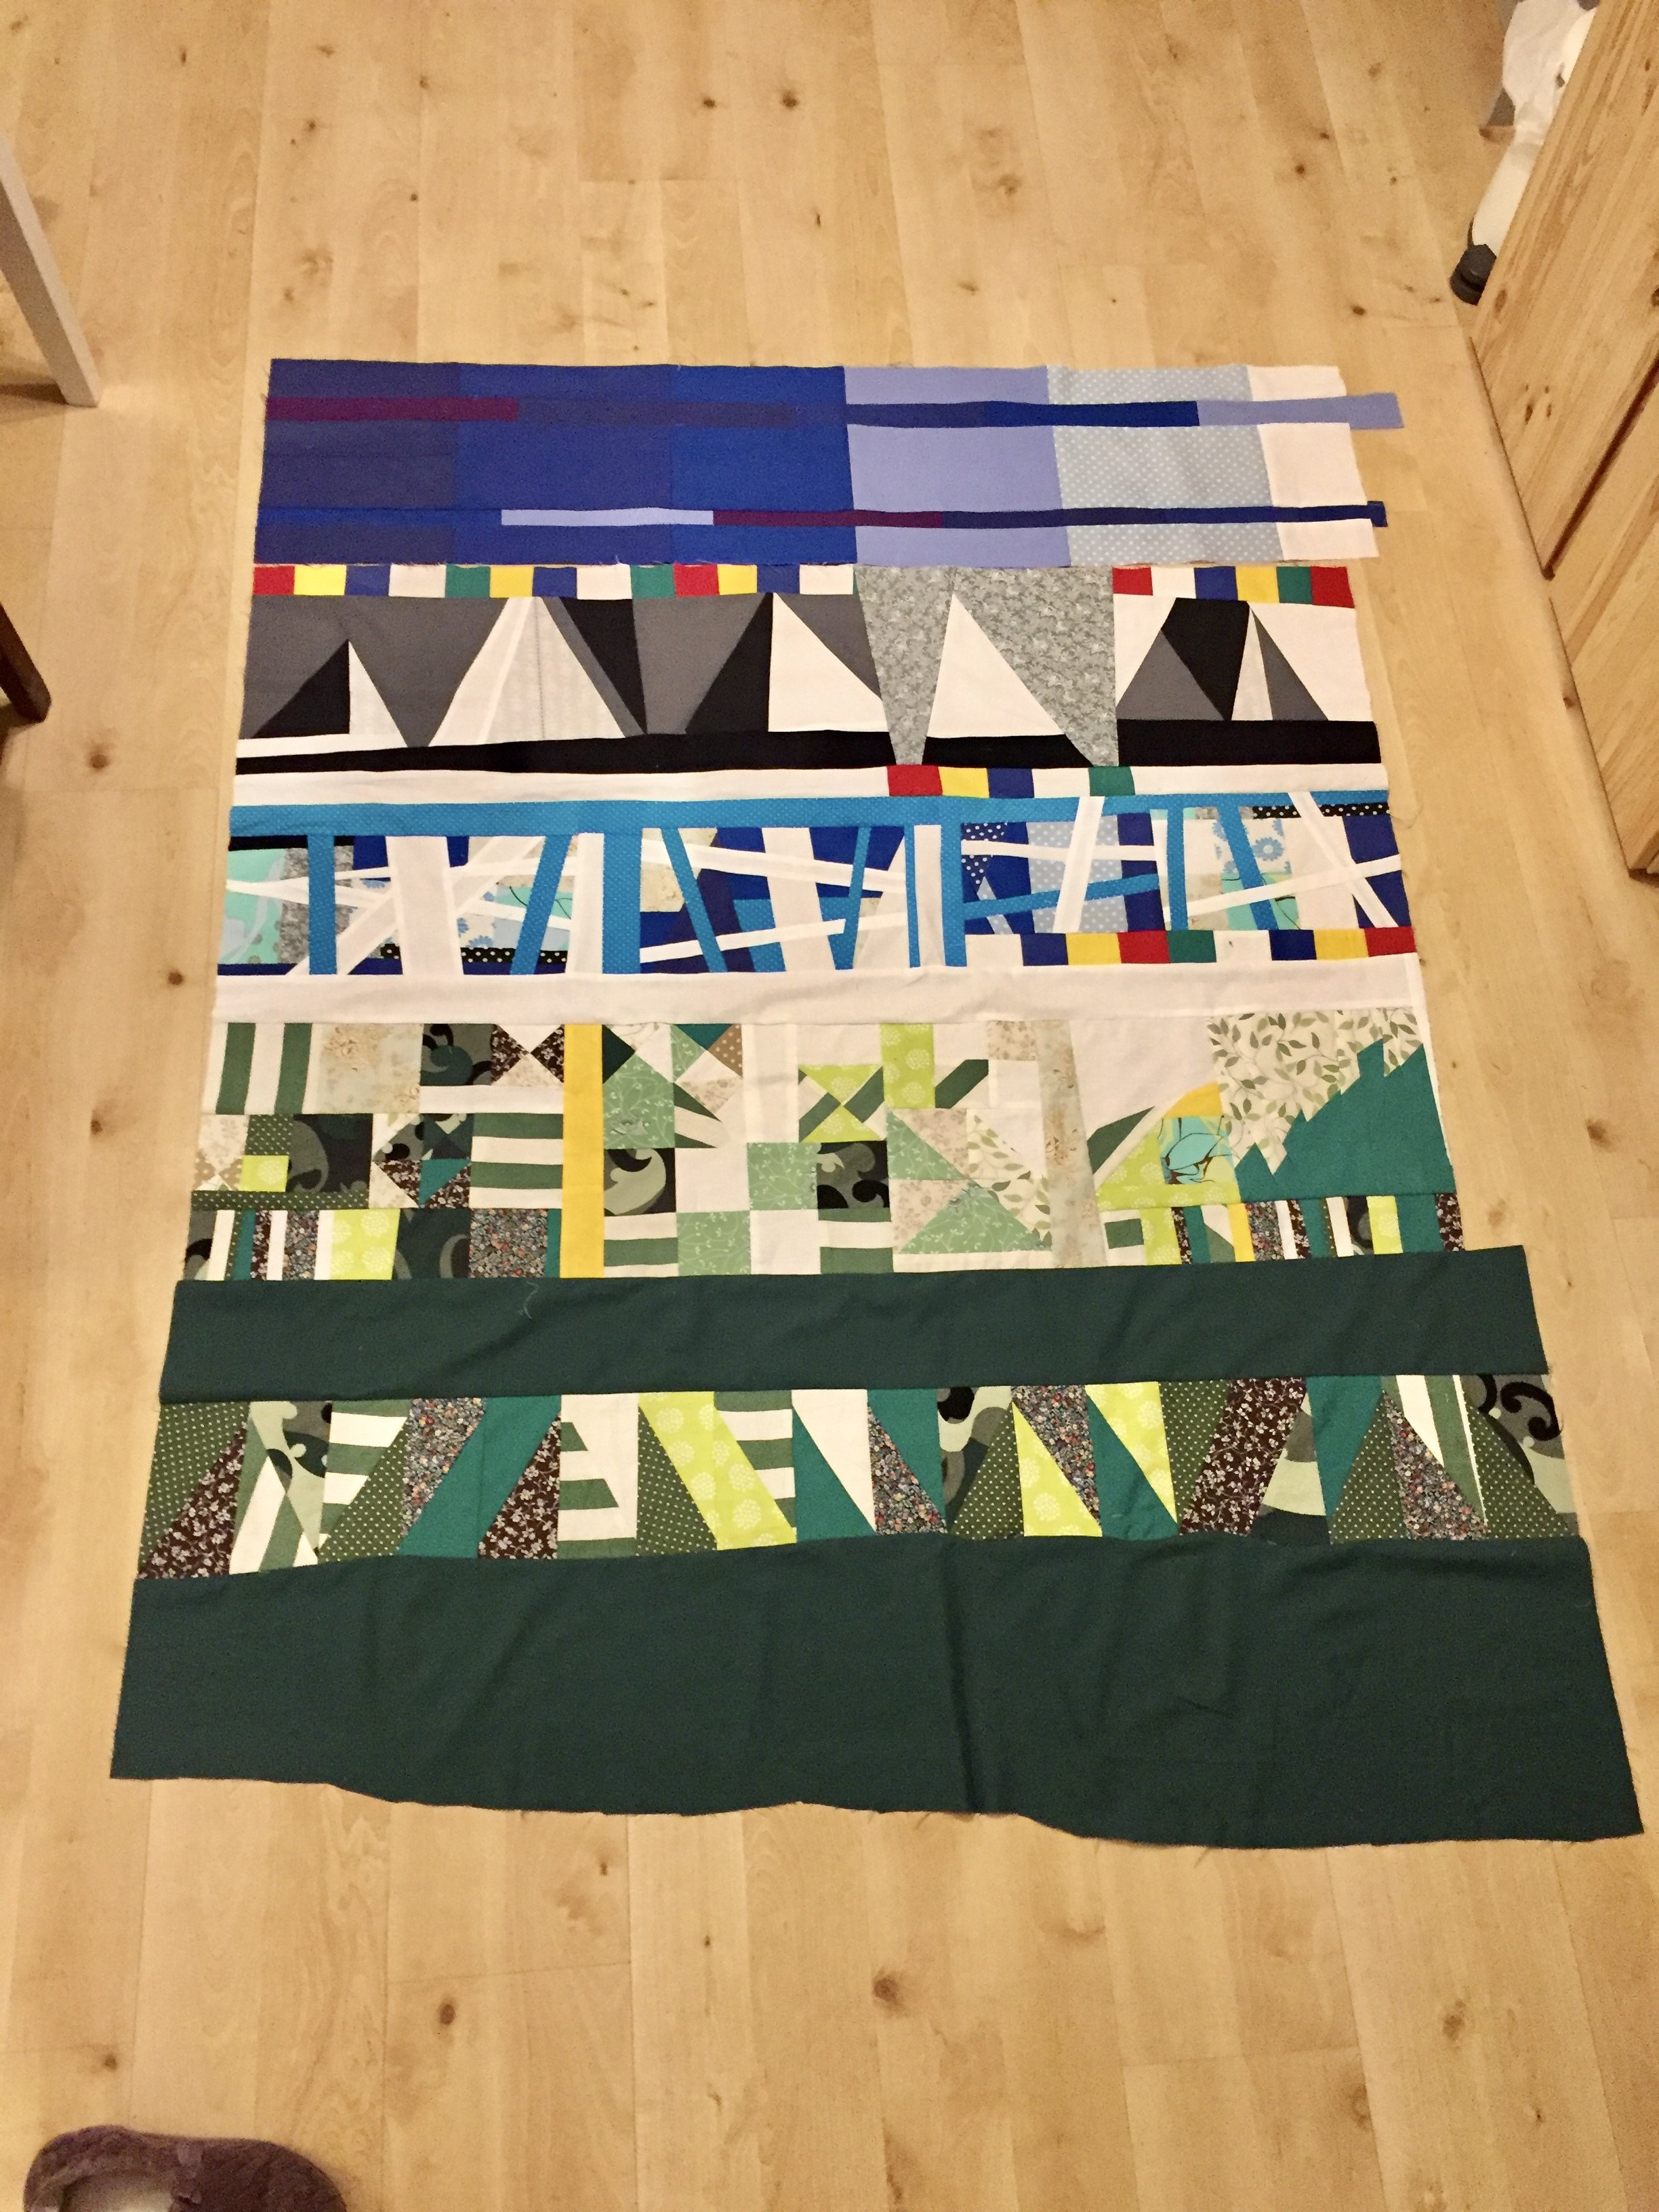
In the pictures below (click any image to enlarge), you can see the final version of that layer. I then had to make decisions about how to connect the sections, and slowly began adding the pieces. After working with relatively small pieces up till that point, this was a very satisfying part of the process.
I still hadn’t decided on what to do with the ‘sky’, however. In the pictures above, you can see it’s a patchwork of pinks and blues. I recklessly cut bits of that up to see if vertical strips might work, and even sewed some of them together before deciding they were too attention-grabbing compared to the section below, and led the eye out of the quilt. I tried the strips horizontally, too, but that didn’t seem right either. The final version is a simpler iteration of that idea.


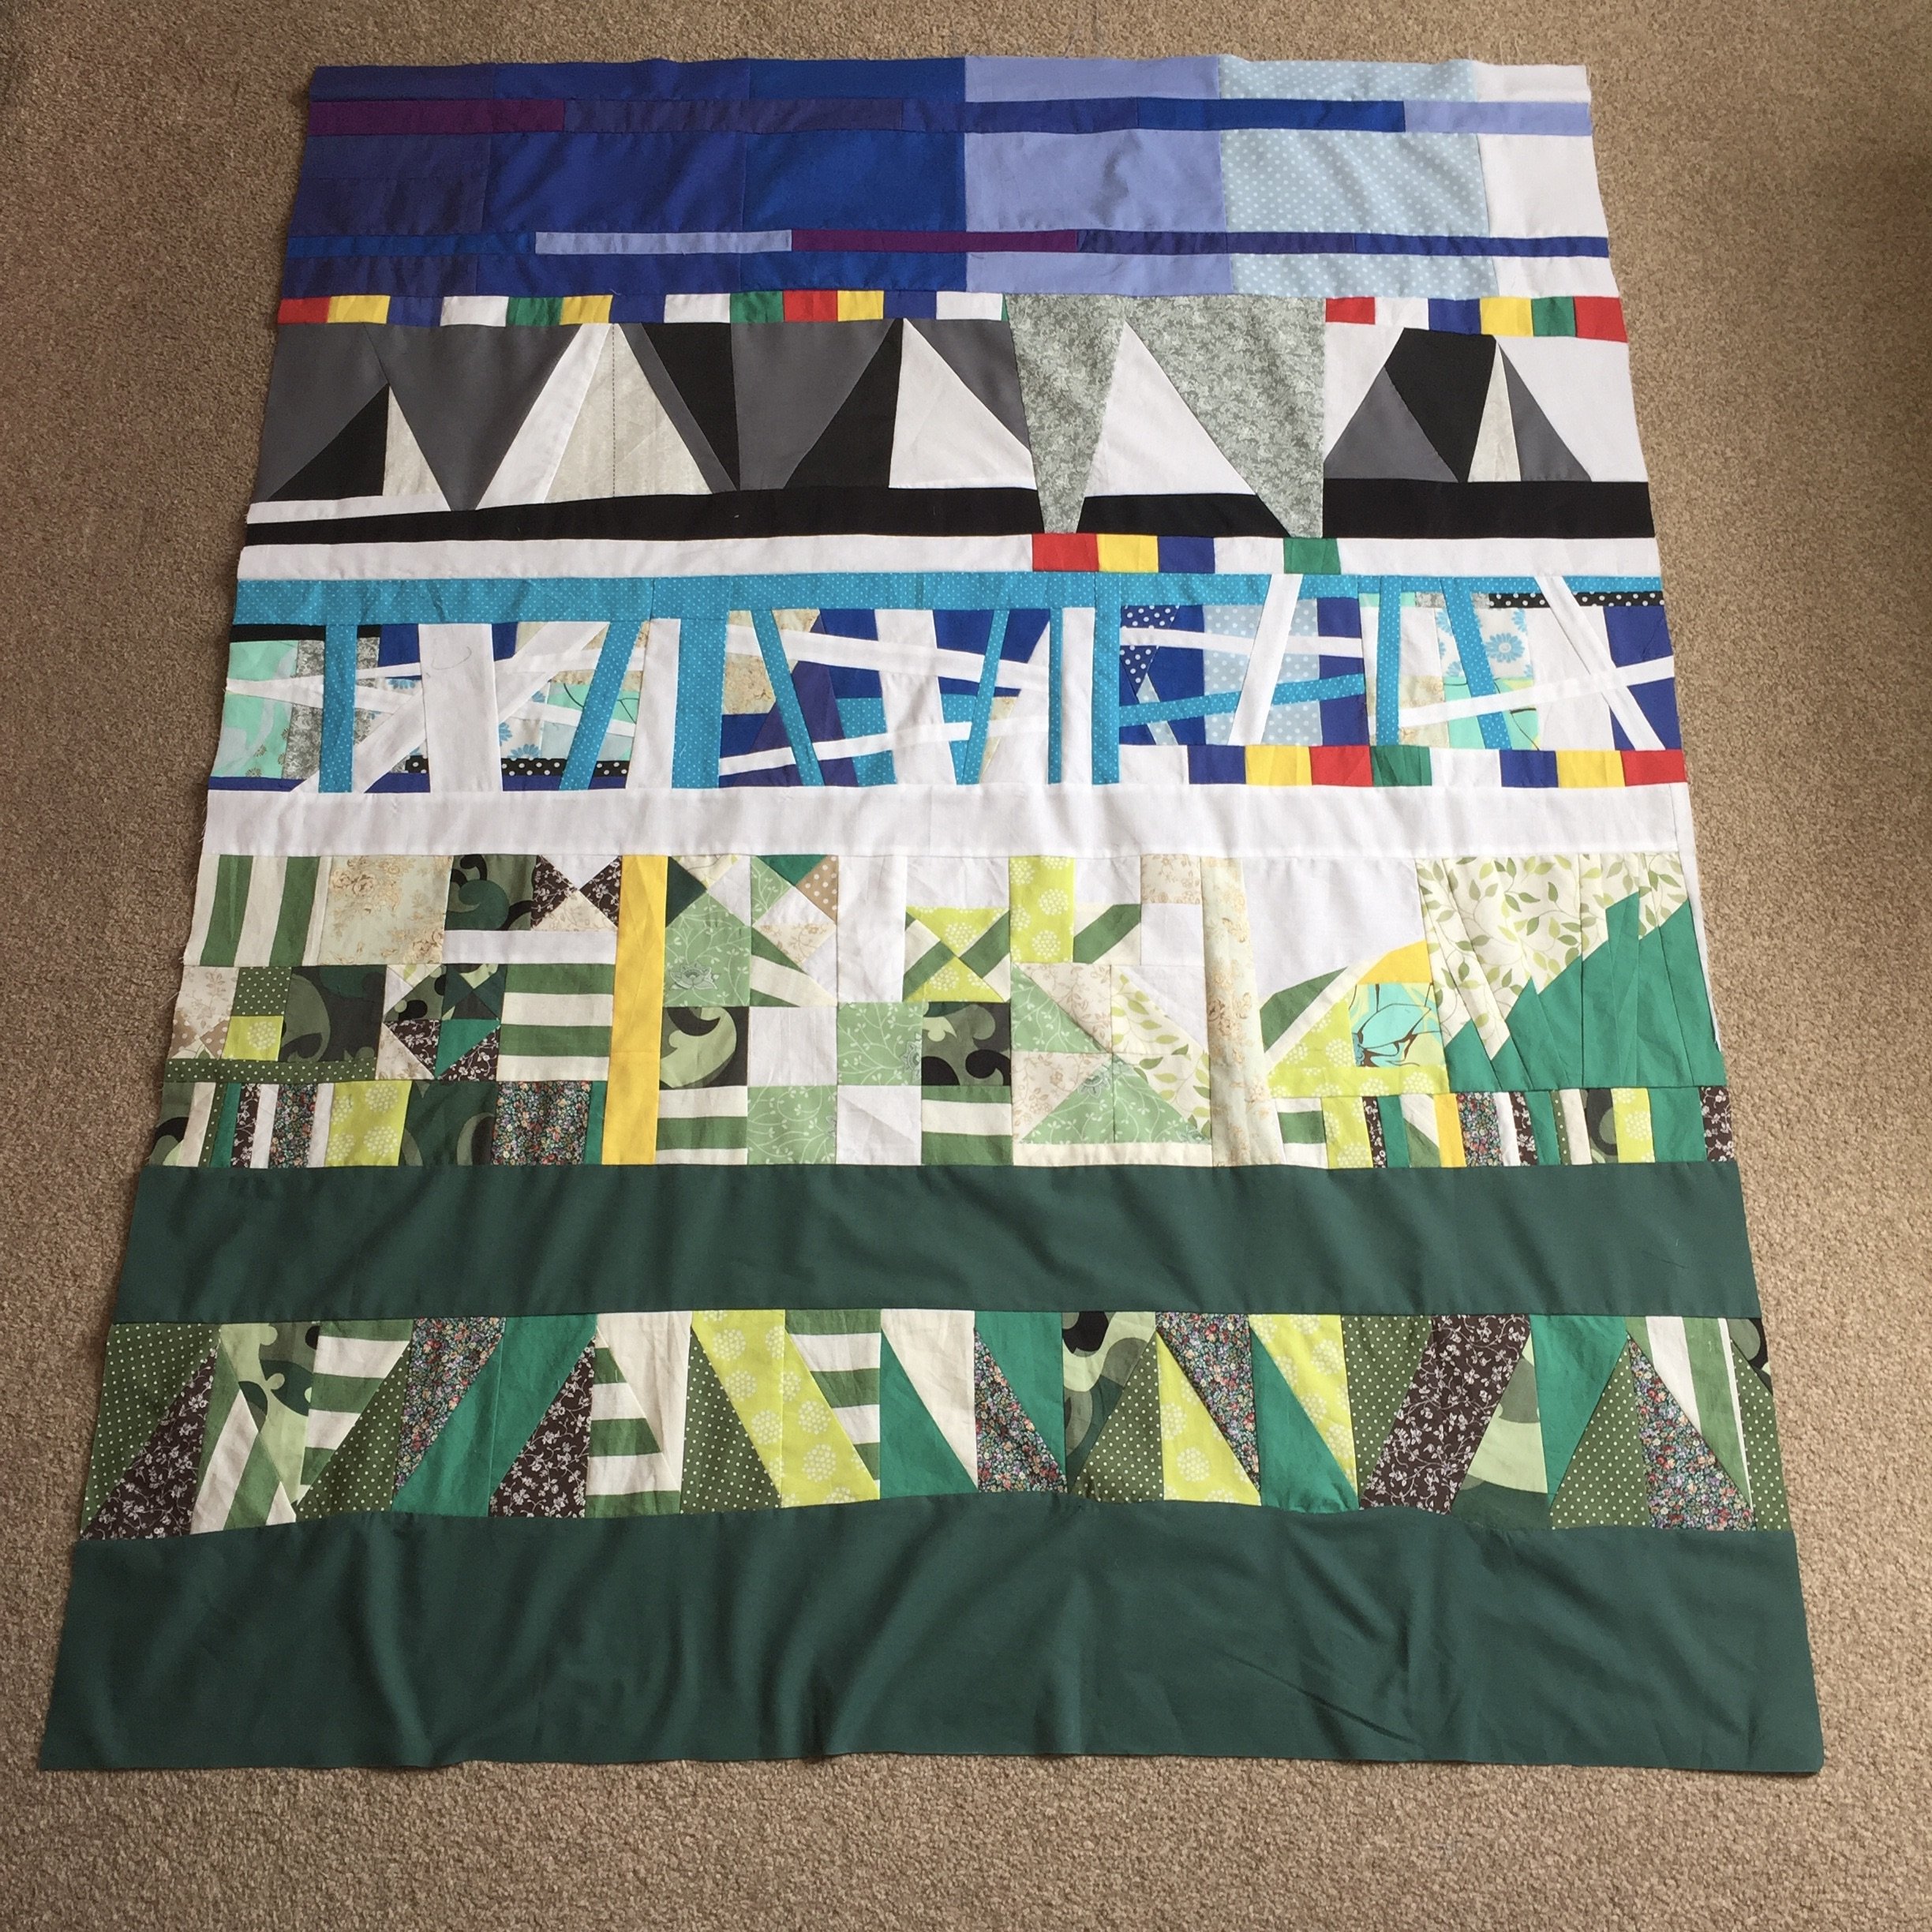
There’s still quite a long way to go with this piece. I’m currently working on a border for it, but want to be careful to not detract from the design as it is. Then, it will need a much simpler quilt-back (probably just a piece of plain cotton), some polyester batting to go in between the front and back, and then the actual quilting can begin.